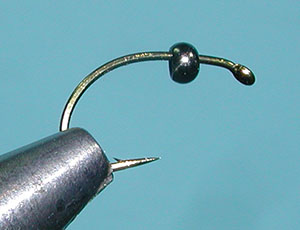
| 1. Slip the bead onto the hook and place the hook in the vise. | |
|
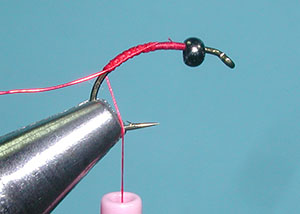
| 2. Attach the thread behind the bead a couple of eye lengths behind the eye. Lay a thread foundation to the middle of the bend on the hook. Attach a wire rib to the bottom of the hook shank and wrap the thread to the middle of the bend again. | |
|
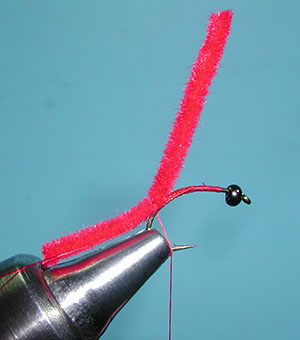
| 3. Tie in a section of ultra chenille at the middle bend of the hook with a couple of overlapping thread wraps. The chenille should extend behind the hook about 1.5 x's the hook gap. | |
|
|
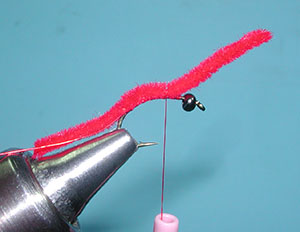
4. Move thread forward and pull the Ultra Chenille over the top of the hook anchoring the material with a couple of thread wraps at the top of the bend. | |
|
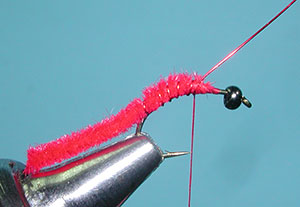
| 5. Wrap the wire ribbing forward with 4-5 evenly spaced spirol wraps. Secure with thread wraps and trim off the tag end of the wire. | |
|
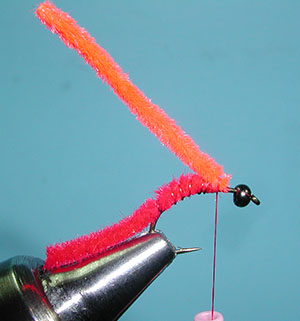
| 6. Attach a second piece of Ultra Chenille at the top of the hook shank in the same area that the lower section ended. | |
|
|
7. Secure with thread wraps and whip finish.Cut off thread. | |
|
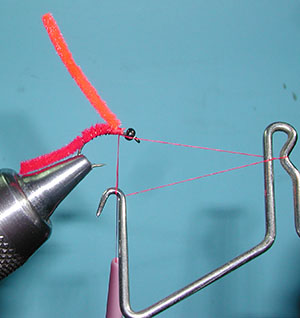
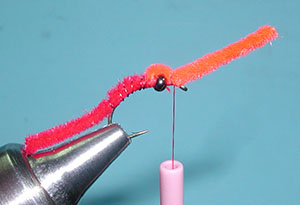
| 8. Slip the bead over the secured ends of both chenilles and reattach the thread in front of the bead. | |
|
|
9. Pull the top chenille over the bead and secure this piece just in front of the bead with a couple of wraps. Wrap the thread around the hook shank to just behind the eye. | |
|
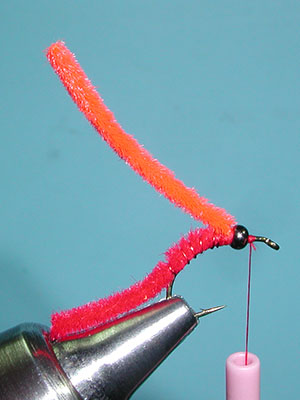
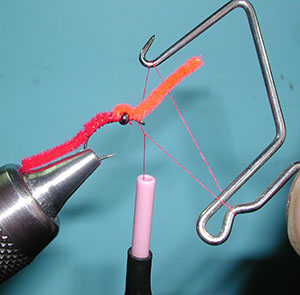
| 10. Apply a couple of whip finishes and trim off the thread. | |
|
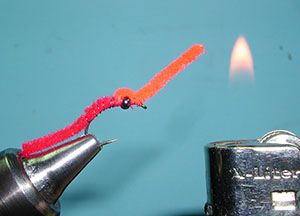
| 11. Burn the ends of the chenille by bringing the flame close by. You want to sear the ends to a point without leaving any black soot marks. | |
|
|
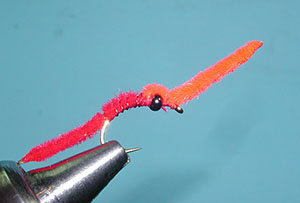
12. The finished San Juan Worm. | |
©2023 Steve Schalla
This page is not to be copied without
my explicit permission.